In fleet management, ensuring reliable and efficient monitoring remains of utmost importance. Hardwire kits for fleet dash cameras play a pivotal role in achieving this goal. These kits act as the backbone of an organized and stable power supply system, providing a dependable energy source and streamlining the installation process. This article serves as a comprehensive guide, delving into the significance of hardwire kits, elucidating their purpose, and demonstrating how they contribute to the seamless operation of dash cameras in your fleet. Explore the key to enhancing safety, security, and overall performance through this in-depth exploration of fleet dash camera hardwire kits.
Understanding Fleet Dash Camera Hardwire Kits
Fleet dash camera hardwire kits are vital for the consistent and reliable operation of these surveillance systems. They serve the essential purpose of providing a constant power source to dash cameras, ensuring uninterrupted recording and monitoring. Hardwire kits establish a direct connection between the camera and the vehicle’s electrical system, streamlining integration.
In contrast to traditional power adapters or USB cables, hardwiring offers distinct advantages. It eliminates the need for battery maintenance or manual recharging, ensuring 24/7 camera functionality. Additionally, hardwire kits enhance the installation by ensuring a cleaner and more discreet setup, eliminating visible wires and dashboard clutter. These benefits make hardwire kits a pivotal asset in fleet management, enhancing dash camera performance, reliability, and overall efficiency.
Benefits of Fleet Dash Camera Hardwire Kits
Fleet dash camera hardwire kits offer advantages that significantly enhance the functionality and effectiveness of these surveillance systems. The benefits are threefold:
- Continuous Power Supply: Hardwire kits ensure an uninterrupted source of power, eliminating the need for manual charging or frequent battery replacements. Dash cameras remain operational around the clock, providing constant monitoring and surveillance capabilities.
- Neat and Professional Installation: Hardwiring promotes a cleaner and more professional installation. It eradicates visible wires and clutter on the dashboard, resulting in a sleek setup that looks better and reduces distractions for the driver.
- Enhanced Security: The secure installation facilitated by hardwire kits enhances the camera’s security against theft or tampering. In the event of an incident, the footage is more likely to be preserved, providing valuable evidence for fleet managers.
These benefits collectively make fleet dash camera hardwire kits an invaluable investment for fleet management, improving safety, security, and operational efficiency.
Components of Fleet Dash Camera Hardwire Kits
In this section, we will investigate the essential components of fleet dash camera hardwire kits, focusing on the characteristics of the power cable, fuse taps or holders, voltage regulators or converters, and cable clips and accessories for achieving a well-organized and efficient installation.
Power Cable:
The power cable included in hardwire kits is a critical component that ensures a reliable and continuous power supply to the dash camera. When selecting a power cable, considerations such as cable length, quality, and gauge are paramount. A suitable length ensures that the cable reaches from the dash camera to the power source without excess slack or tension. Quality and gauge determine the cable’s ability to transmit power efficiently without loss. It’s also crucial to select a cable with connectors that match your dash camera model, guaranteeing compatibility and seamless integration.
Fuse Tap or Fuse Holder:
Fuse taps and fuse holders are essential elements of hardwire kits, responsible for tapping into the vehicle’s fuse box to provide power. These components allow for a safe and controlled connection. When choosing a fuse tap or holder, it’s vital to consider the type and rating of your vehicle’s fuses to ensure a proper match. This ensures a secure power connection without overloading the vehicle’s electrical system.
Voltage Regulator or Converter:
Voltage regulators and converters are significant in maintaining a stable power output to the dash camera. They prevent voltage fluctuations and ensure a consistent power supply, protecting the camera from potential damage due to power surges or drops. When selecting a voltage regulator or converter, it’s essential to match its specifications to the power requirements of your specific camera model, guaranteeing optimal performance and protection.
Cable Clips and Accessories:
Cable clips and accessories play a crucial role in achieving a neat and organized installation. They help secure the power cable, preventing it from dangling or cluttering the vehicle’s interior. Proper cable routing and positioning, facilitated by these accessories, not only ensure optimal functionality but also maintain a clean and professional appearance. These elements collectively contribute to a seamless integration of the dash camera into your fleet, enhancing both functionality and aesthetics.
Choosing the Right Fleet Dash Camera Hardwire Kit
Selecting the appropriate hardwire kit for your fleet’s dash cameras is a critical decision that directly influences the effectiveness and reliability of your surveillance system.
- Compatibility with Dash Camera Models: Ensuring compatibility between the hardwire kit and the dash camera model is paramount. Different dash camera brands and models may require specific hardwire kits tailored to their power requirements and connectors, making careful consideration essential.
- Vehicle Compatibility: It’s crucial to consider the vehicle’s electrical system and fuse box layout. Different vehicle types may impact the selection of a hardwire kit, and understanding the vehicle-specific nuances is vital. Researching vehicle-specific considerations or seeking professional advice, if necessary, can prevent compatibility issues.
- Features and Additional Considerations: Additional features or considerations in hardwire kits should not be overlooked. These may include voltage cutoff, low voltage protection, and timer settings. It’s important to align the choice of features with the specific needs of the fleet and the desired functionality of the dash cameras, ensuring that the selected kit enhances both performance and safety.
Installation Process for Hardwire Kits Best Practices
Installation Process and Best Practices
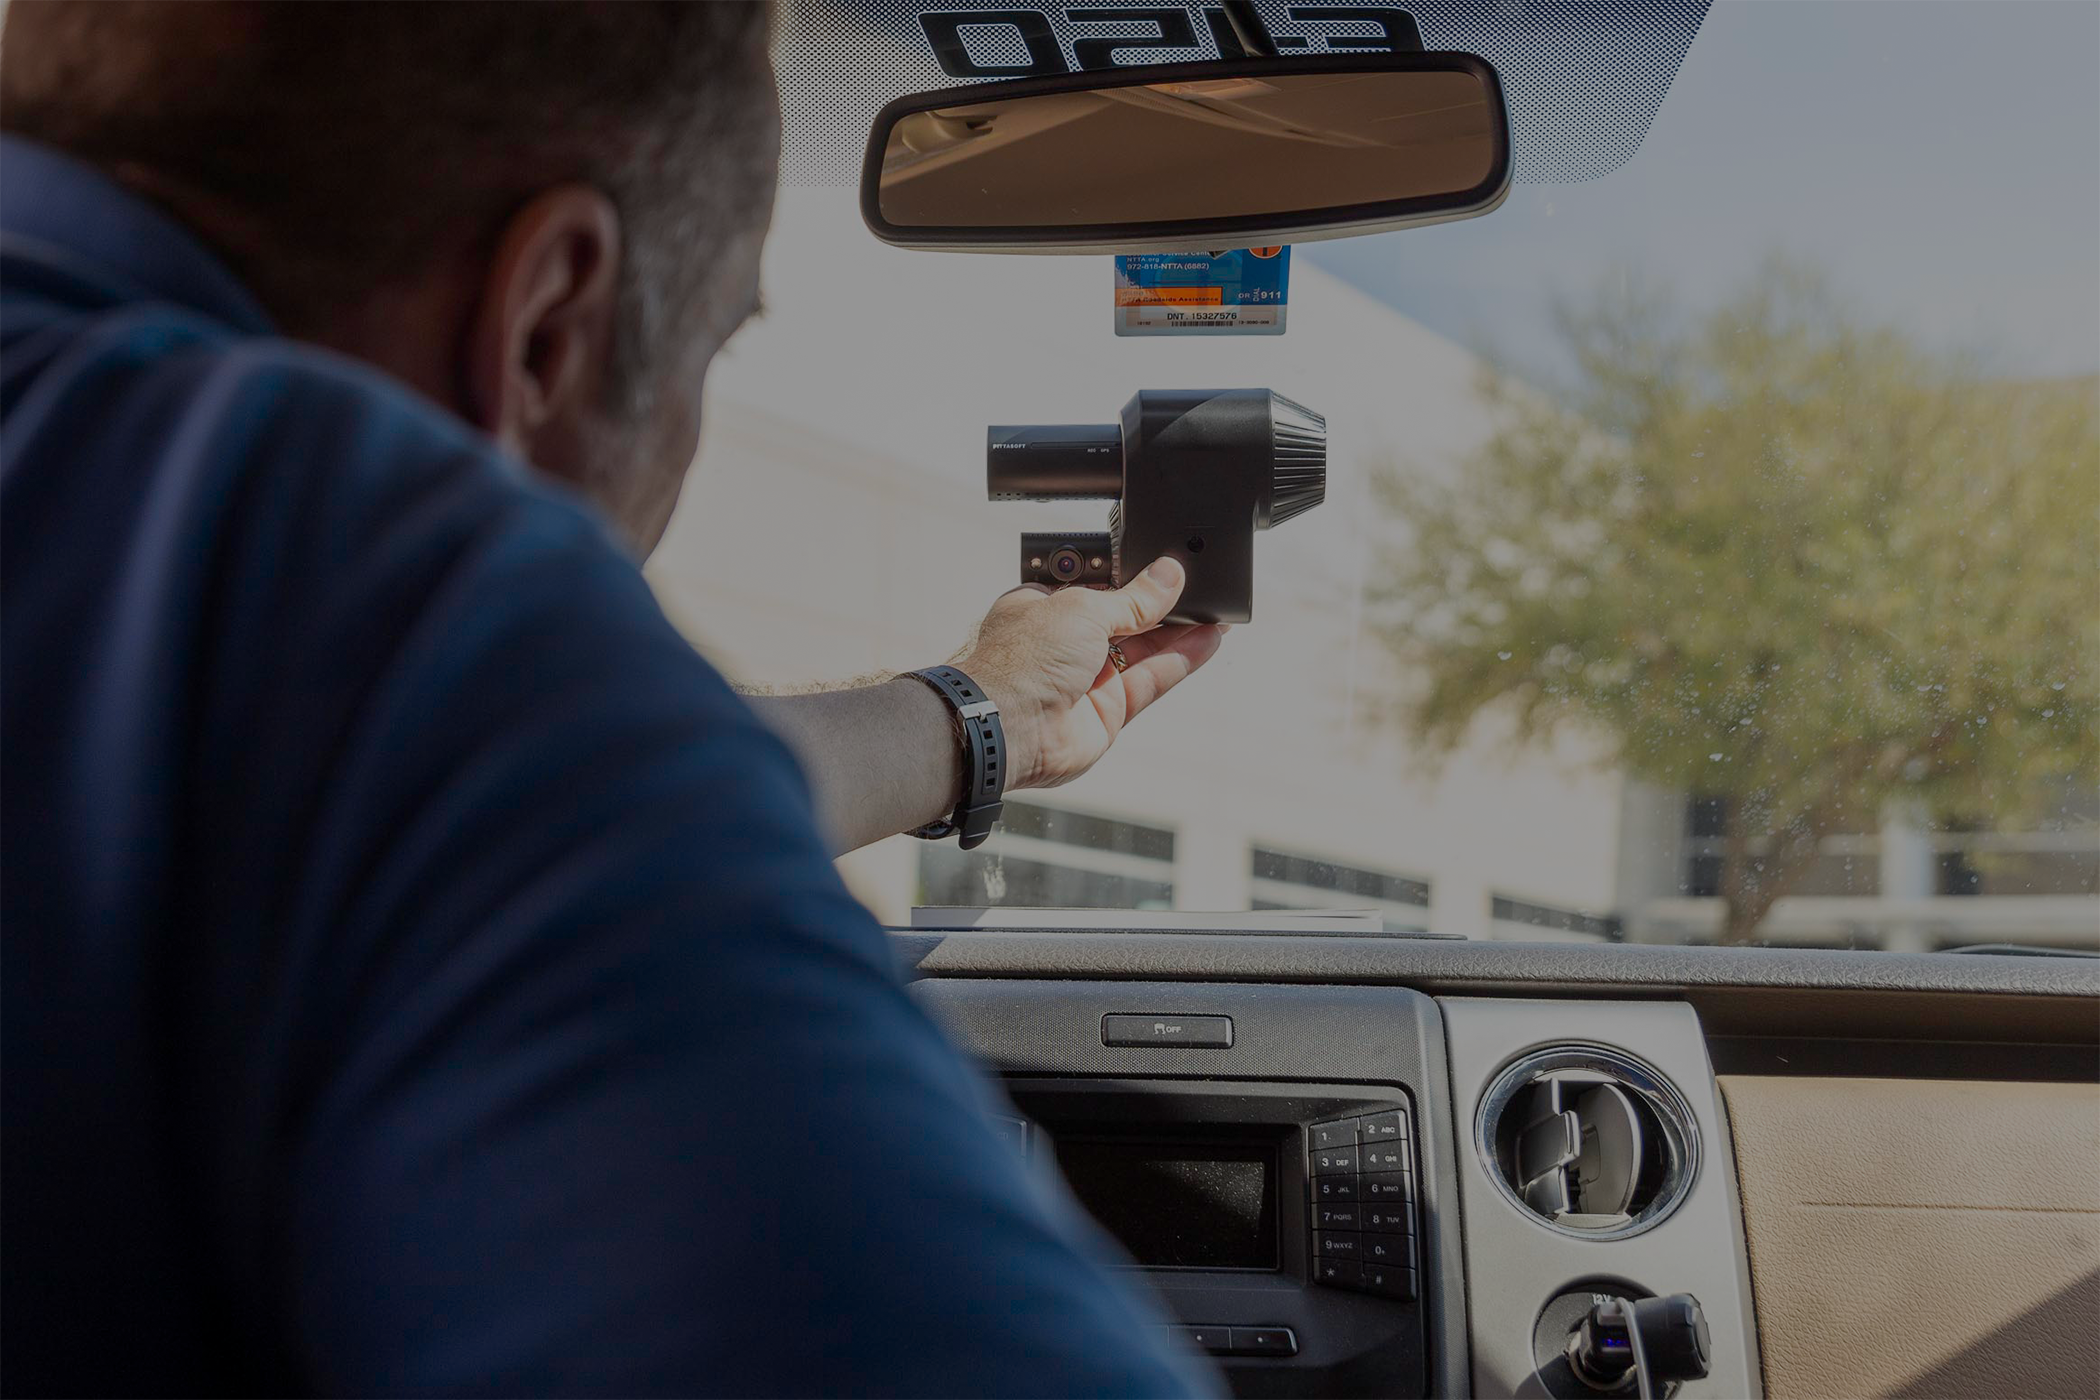
Installing fleet dash camera hardwire kits requires careful execution to ensure optimal performance and reliability. Here, we’ll walk you through the installation process, providing a step-by-step guide that covers connecting the components and routing the cables efficiently.
Step 1: Preparation
Before starting, gather all necessary tools and equipment, including the hardwire kit, your dash camera, wire strippers, crimping tools, and a fuse puller.
Step 2: Identify Components
Familiarize yourself with the components of the hardwire kit, including the power cable, fuse tap or holder, and voltage regulator or converter.
Step 3: Disconnect the Battery
For safety, disconnect the vehicle’s battery to prevent electrical mishaps during installation.
Step 4: Choose a Fuse
Select a suitable fuse in the vehicle’s fuse box to connect the hardwire kit. Refer to your vehicle’s manual for guidance on the appropriate circuit to tap into.
Step 5: Fuse Tap Installation
Insert the fuse tap into the chosen fuse slot. Connect the kit’s power cable to the fuse tap. Crimp or solder the connectors securely. Reinsert the fuse into the fuse tap.
Step 6: Routing the Cable
Route the power cable along the vehicle’s interior, following hidden or inconspicuous paths.
Avoid obstructing the driver’s view and ensure the cable is not pinched or damaged by moving parts. Secure the cable in place using cable clips and accessories.
Step 7: Voltage Regulator/Converter
If your hardwire kit includes a voltage regulator or converter, connect it between the power cable and the dash camera. This ensures a stable power supply.
Step 8: Dash Camera Connection
Connect the power cable to the dash camera, ensuring a secure and snug fit. Follow the manufacturer’s instructions for your specific camera model.
Step 9: Testing
Reconnect the vehicle’s battery and test the dash camera to ensure it powers on and functions correctly.
Best Practices for Hardwire Kits
- Always follow the manufacturer’s instructions for the hardwire kit and your dash camera model.
- Check for any vehicle-specific guidelines related to installation.
- Seek professional assistance if you are unsure about any part of the installation process or if the task exceeds your expertise.
By adhering to these steps and best practices, you’ll successfully install your fleet’s dash camera hardwire kit, providing reliable power and contributing to enhanced safety and security within your fleet.
Elevating Fleet Safety and Security: The Importance of Dash Camera Hardwire Kits
Fleet dash camera hardwire kits play a pivotal role in ensuring a continuous power supply and maintaining a neat, unobtrusive installation. We urge fleet managers to make informed choices by considering camera compatibility, vehicle-specific factors, and desired features when selecting a hardwire kit. Empower your fleet’s safety and security by exploring the range of hardwire kits available for your dash cameras. Click to learn more and make the right choice to elevate the performance and reliability of your fleet’s surveillance system.